...
Schritt-für-Schritt-Anleitung
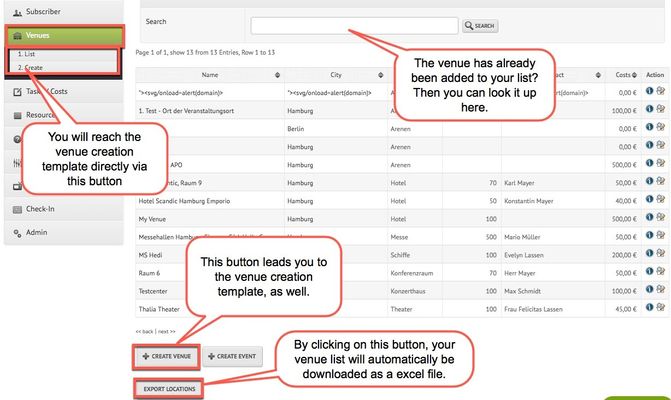
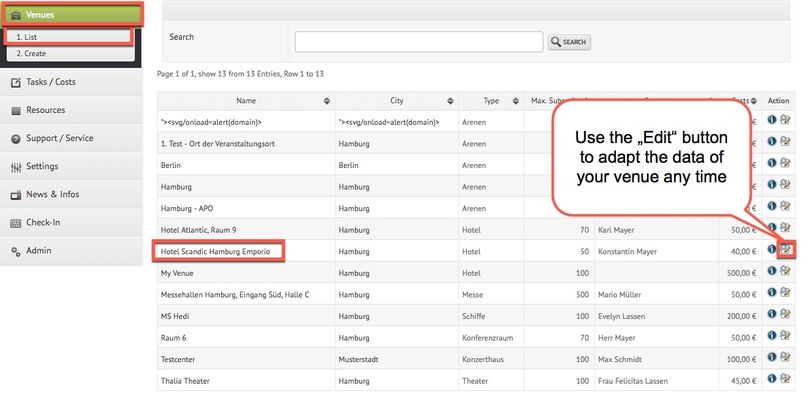
- in On the sidebar-menu on the left-hand side, click on the button "Venues" in oder to open the submenu. By clicking on the tab "list", you will be forwarded to an overview of all the existing venues within your account. By clicking on the tab "Create", you will be forwarded directly to creation template of a new venue.
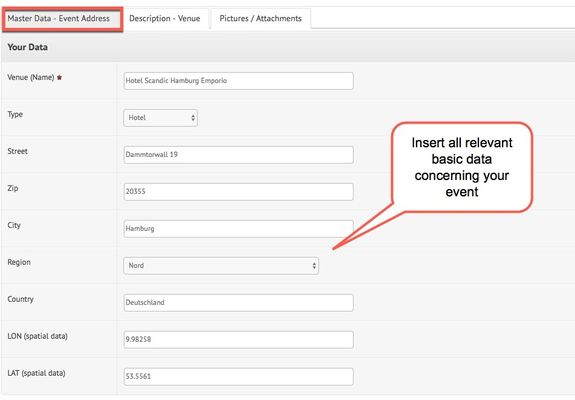
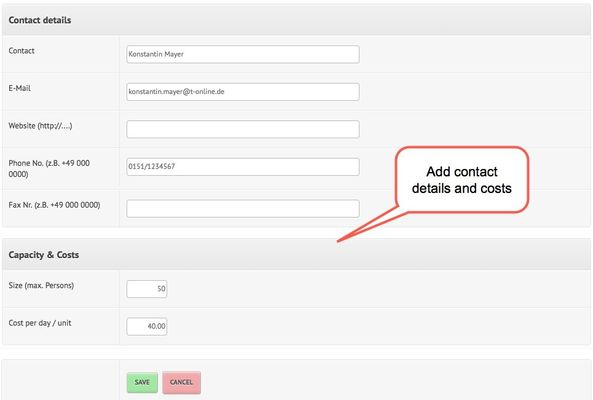
- The template for the creation of a new venue consists of three different tabs. The first one, "Master data - Event Address" allows you to insert the main data regarding the address and name of your venue. Furthermore, you can add a contact person, capacity and costs:
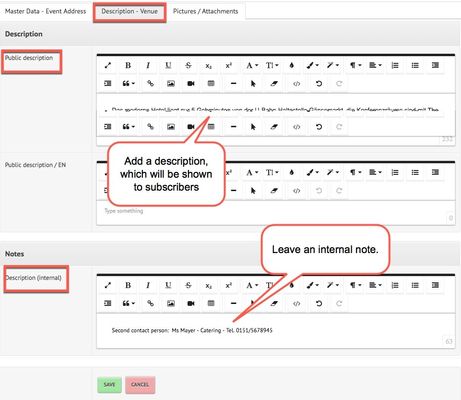
- Now, switch to the second tab "Description - Venue". Here, you can add an official description as well as an internal note:
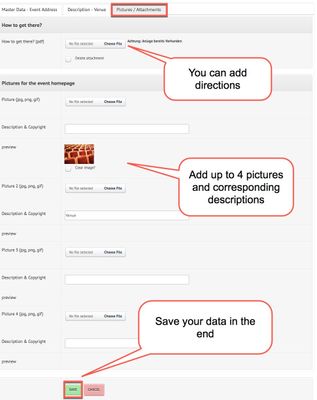
- The next tab "Pictures/Attachments" provides you with the opportunity to upload up to four pictures with corresponding descriptions. Moreover, you can add direction ("How to get there?"). Have you entered all your data? Then click on the "Save" button to finalise the venue creation:
- In case you would like to change some settings afterwards, don't worry - you can always access the template and edit it via the venue list:
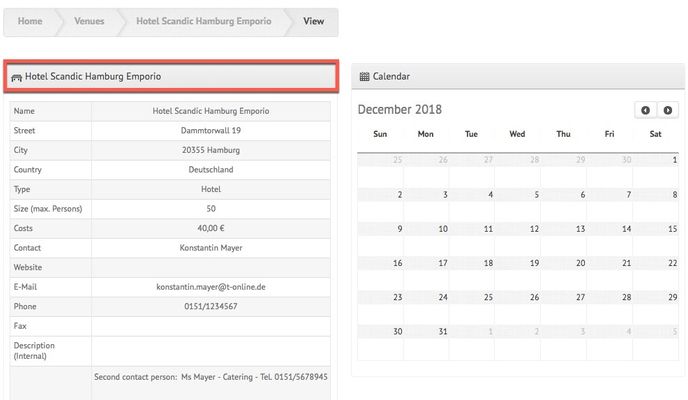
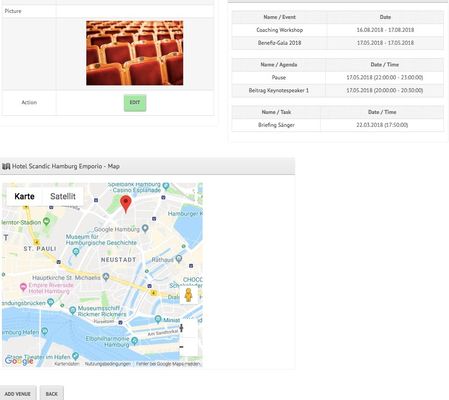
- If you click on your created event in the list of venues above, you will be forwarded to the overview of your event:
...
