Edit Subscribers
The following steps will guide you through the process of editing your subscribers.
Schritt-für-Schritt-Anleitung
- Click on the tab "Subscribers" on the sidebar- menu on the left-hand side and then on "List". You will be forwarded to an overview of all subscribers. There are different filter options:
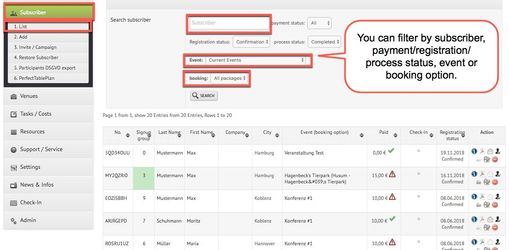
- Moreover, the column "Action" next to each subscriber offers various options to edit your subscriber manually: You can, for instance, generate a Print/PDF-ticket, send the ticket manually via e-mail or check a specific subscriber in manually. There is also the possibility to edit and delete a subscriber or to mark him as paid manually:

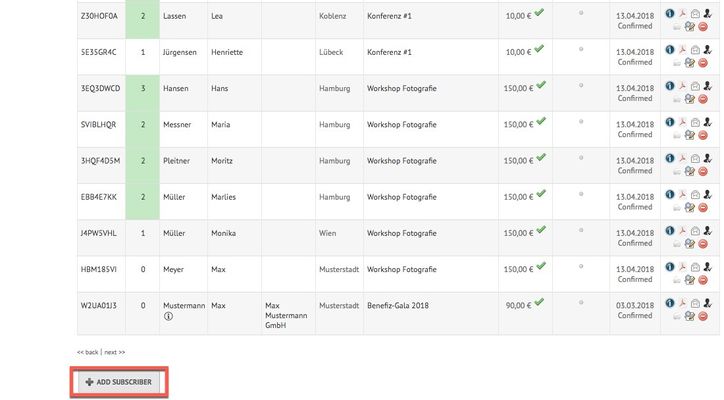
- You can also add a subscriber manually by clicking on the button "Add Subscriber" right at the bottom of the page:
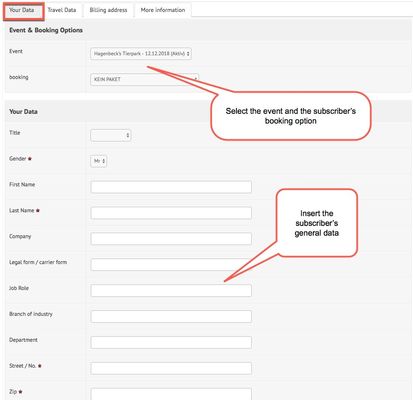
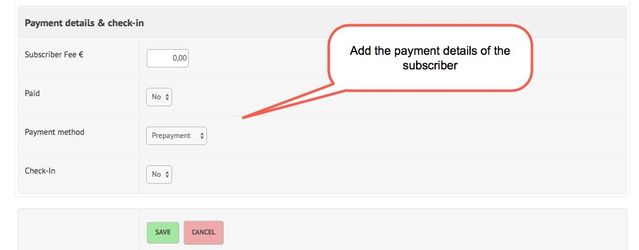
- You will then be redirected to the subscriber editing template and will be able to insert all necessary details. There are four tabs on the top of the page. First, general data and payment details with regard to the subscriber have to be added:
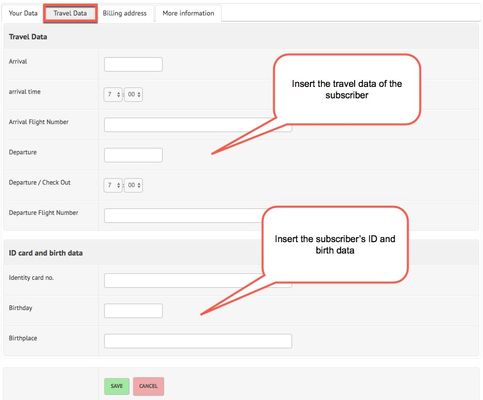
- Now click on the next tab "Travel Data" and insert the travel and flight data, as well as birth and ID data of the subscriber, if necessary:
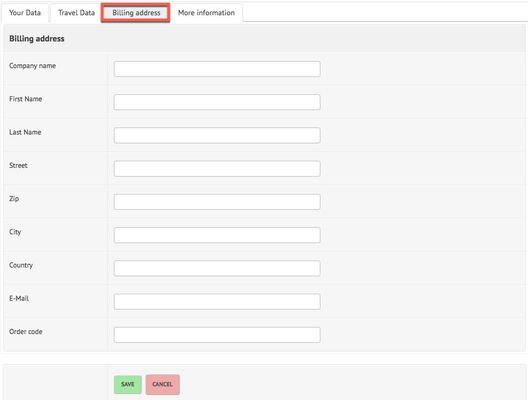
- In the next tab "Billing address", you can add the billing information of the subscriber:
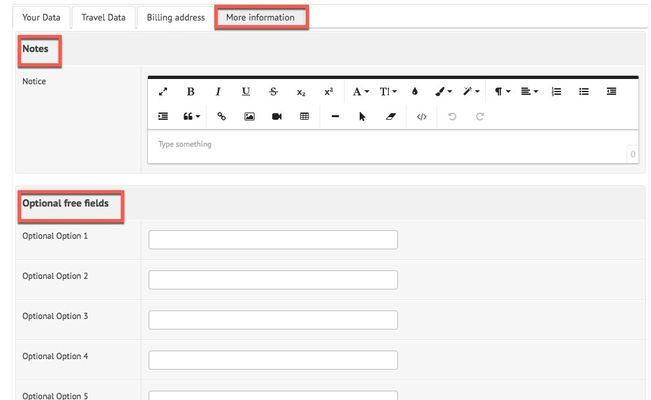
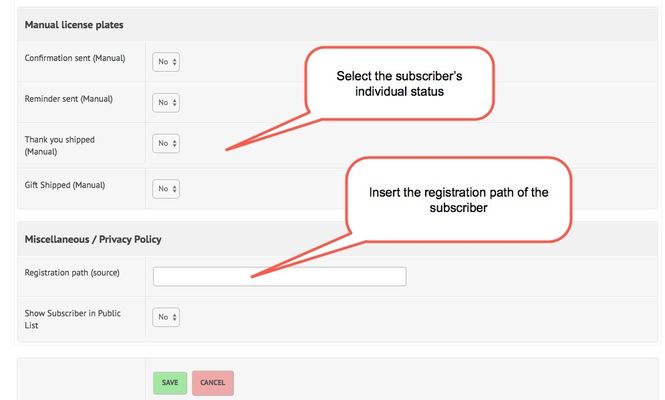
- Finally, the tab "More information" offers the possibility to add further notes and up to 20 optional fields. You can also select if a confirmation or reminder has, for instance, already been sent to the subscriber. There is also the possibility to insert a registration path and to chose whether the subscriber can be shown in a public list:
- When you have entered all necessary data, press "save" (you can also save after you have entered data in each tab). The subscriber is now assigned to the selected event and will be shown in the subscriber list and you can select actions for him or her (see step 3).
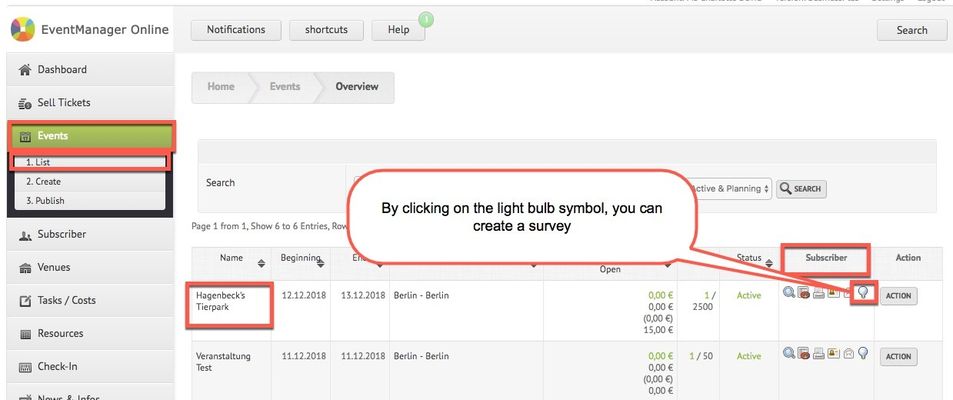
- There is also the possibility to create a survey with regard to a specific event in order to receive feedback and suggestions for improvement. In order to do that, you need to click on "Events" > "List" and look for your event. In the column "Subscriber", click on the light bulb symbol and you will subsequently be forwarded to the survey template:
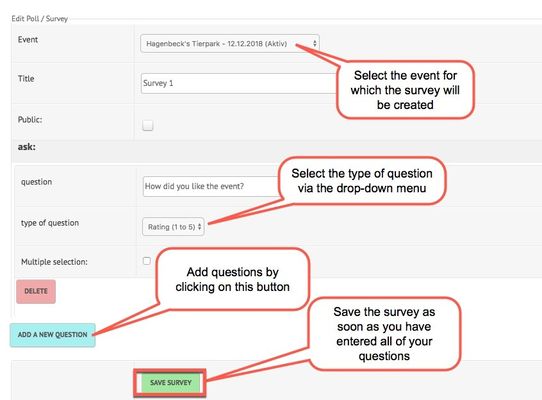
- With the help of the survey template, you now create your survey, question by question. Subsequently, you need to save your survey:
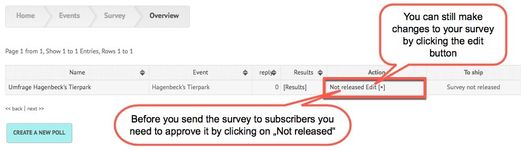
- You will be redirected to the survey overview. In the section "Actions" you can male changes to your survey by clicking on "Edit". Before you send the survey to your subscribers, you also need to approve it. To do that, just click on "Not released" and it will change to "Approve". You can also do that the other way around in order to change the status "Approved" into "Not released":

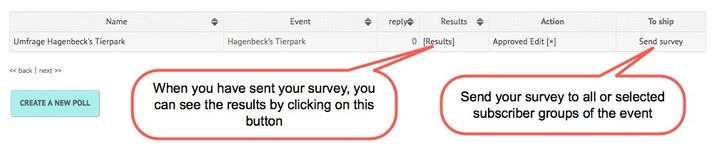
- The overview provides you also with the possibility to send your survey to all subscribers of the event or selected groups and to see your results afterwards in clearly represented diagrams:
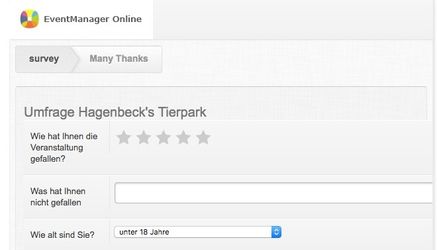
- The survey will be displayed to the subscriber like this:
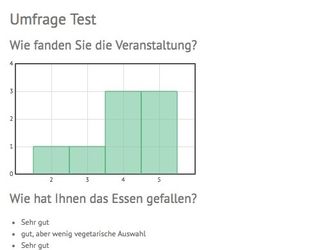
- After subscribers have entered their replies, the results will be represented depending on the type of questions you chose:
Verwandte Artikel