Within the subscriber list of your respective invitation you can define detailed settings.
Instructions
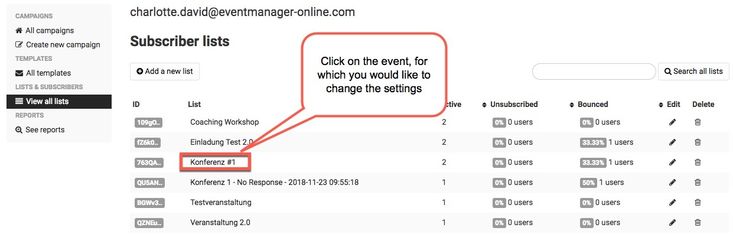
- Click on "View all lists" and select the one you would like to change the settings for.
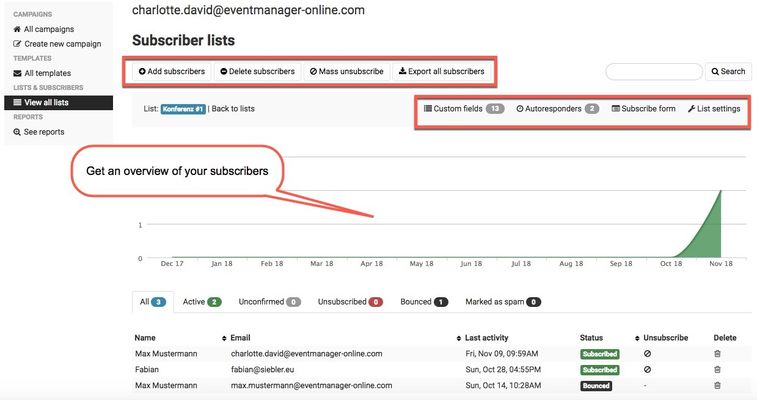
- You will now be redirected to the corresponding subscriber list and can add or delete subscribers or export all subscribers. There is also an overview of the activities of individual subscribers:
- You can add and delete subscribers to your list by the same process. After having clicked either button (see picture step 4), you will be asked to either import subscribers by uploading an excel document or by adding name and email address by line. The first option offers the possibility to add larger amounts of subscribers to your list by just one click. Please make sure that the excel you upload, contains exactly the amount of columns depicted.

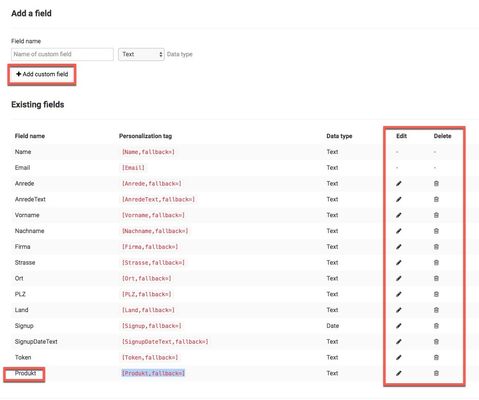
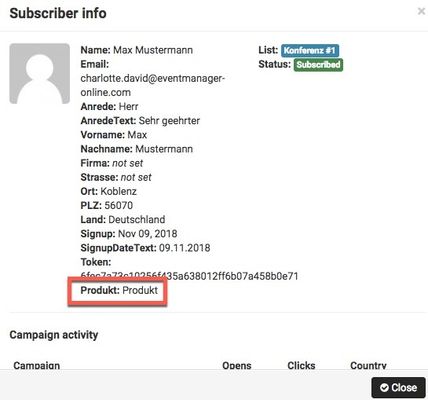
- Moreover, you can add custom fields to your list. Just click on "Custom fields" (see picture step 4) and add your own field by clicking on the corresponding button. The hereby created personalization tag (e.g. contact person, product) will now also be depicted below the description fields and you can use it. Furthermore, it will be displayed in the subscriber info. In case you still want to import subscriber o your list, now that you have added a custom field, be aware that the excel document you use for the subscriber import should now be extended by this very field. Otherwise the system will not be able to import it.
Verwandte Artikel